Quickstart Guide
Go from zero to your first production-ready autonomous agent in under 3 minutes. Learn how to connect, orchestrate, and secure your AI workflows.
1. Create your Account, Organization & Project
Create your Account, Organization & Project
Sign up for a CipherSense Agents account to get access to the orchestration dashboard. You can start with our Sandbox tier to explore the platform.
Once signed in, you'll be prompted to create an Organization — this is your top-level workspace, typically your company or team name.
Inside your organization, create a Project. Think of projects like departments or folders within your company: one project might be your customer support automations, another your internal data pipelines, and another your marketing workflows. Each project has its own set of integrations, workflows, and access controls, keeping things organized as your usage grows.
2. Configure Model Providers
Configure Model Providers
Navigate to Organization Settings > LLM Providers and add your API keys for OpenAI, Anthropic, or Gemini. We also support local Ollama instances for private deployments.
Your configured providers power both your workflow agent nodes and the AI Workflow Designer — CipherSense uses your own API keys, so you stay in full control of costs and data.

3. Connect your Data Stack
Connect your Data Stack
Connect your first integration. Whether it's Slack for notifications, Google Drive for documents, or a PostgreSQL database, CipherSense Agents bridges the gap.

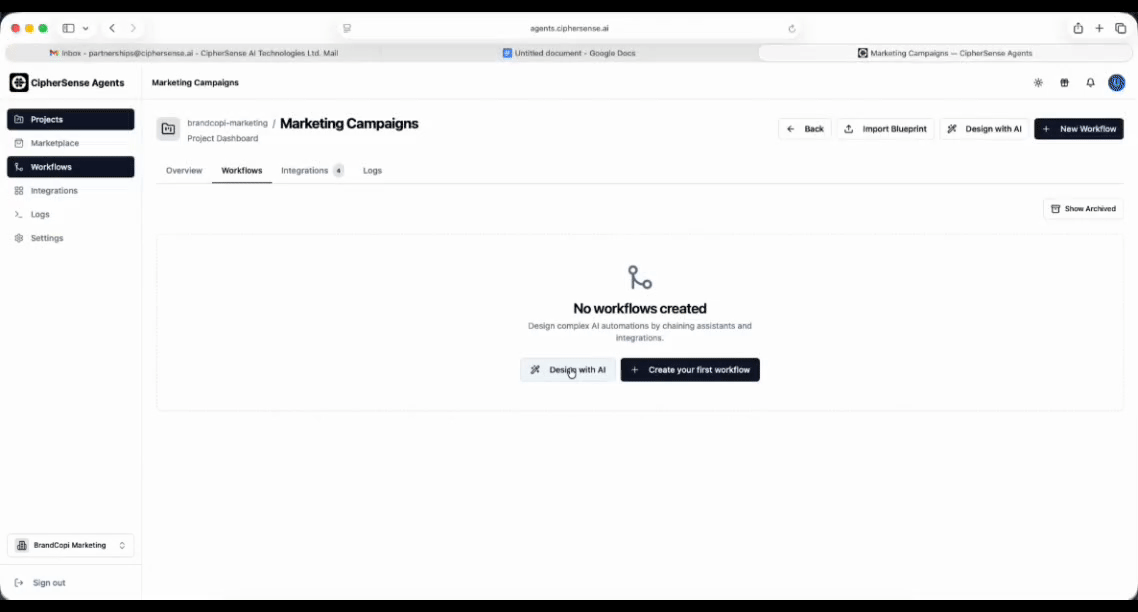
4. Build a Workflow
Build a Workflow
You have two paths to build a workflow — start with whichever feels right for you.
AI Workflow Designer
Click "Design with AI" from the Workflows tab of any project. Describe your automation in plain English — "scan Gmail for job applications, score them with Claude, and post a summary to Slack" — and the AI Designer will generate the full workflow graph for you. Review it on the canvas preview, save it with a name, and you'll land in the Visual Designer to fine-tune any node.
Visual Designer
Open any workflow to enter the drag-and-drop canvas. Browse the node palette, drag agent and integration nodes onto the canvas, wire them together with edges, and configure each node's settings in the side panel. Best for precise control over node configuration and expression wiring.
You're ready to deploy!
Once your workflow is live, you can monitor its execution in real-time from the Workflow Metrics dashboard. Check for errors, view model latencies, and manage human approvals.